
Usage Guide
Learn how to use Mermify to visually and programmatically edit and export Mermaid flowcharts.
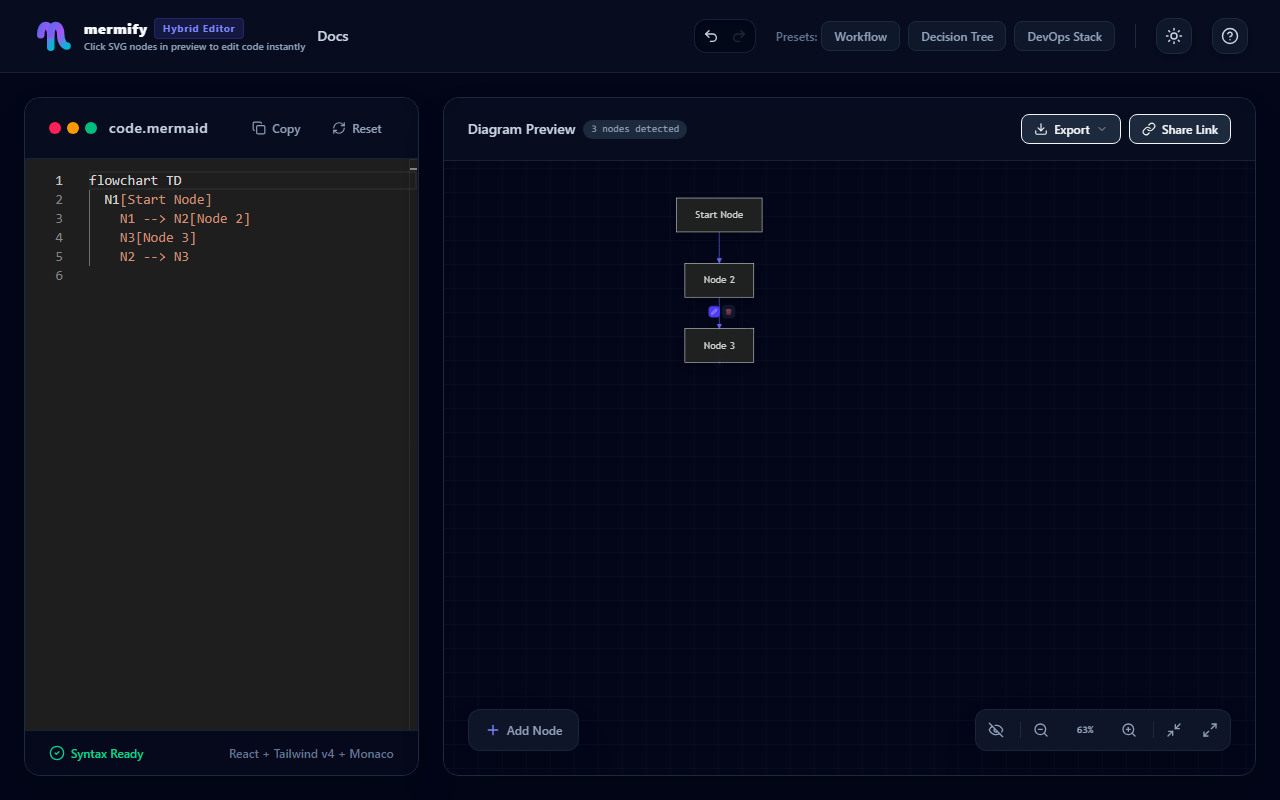
1. The Basic Workflow
Mermify provides a side-by-side hybrid editing interface:
- Left Panel: Monaco Code Editor where you can type Mermaid syntax directly.
- Right Panel: A fully interactive Live Preview canvas showing the rendered SVG.

2. Managing Nodes
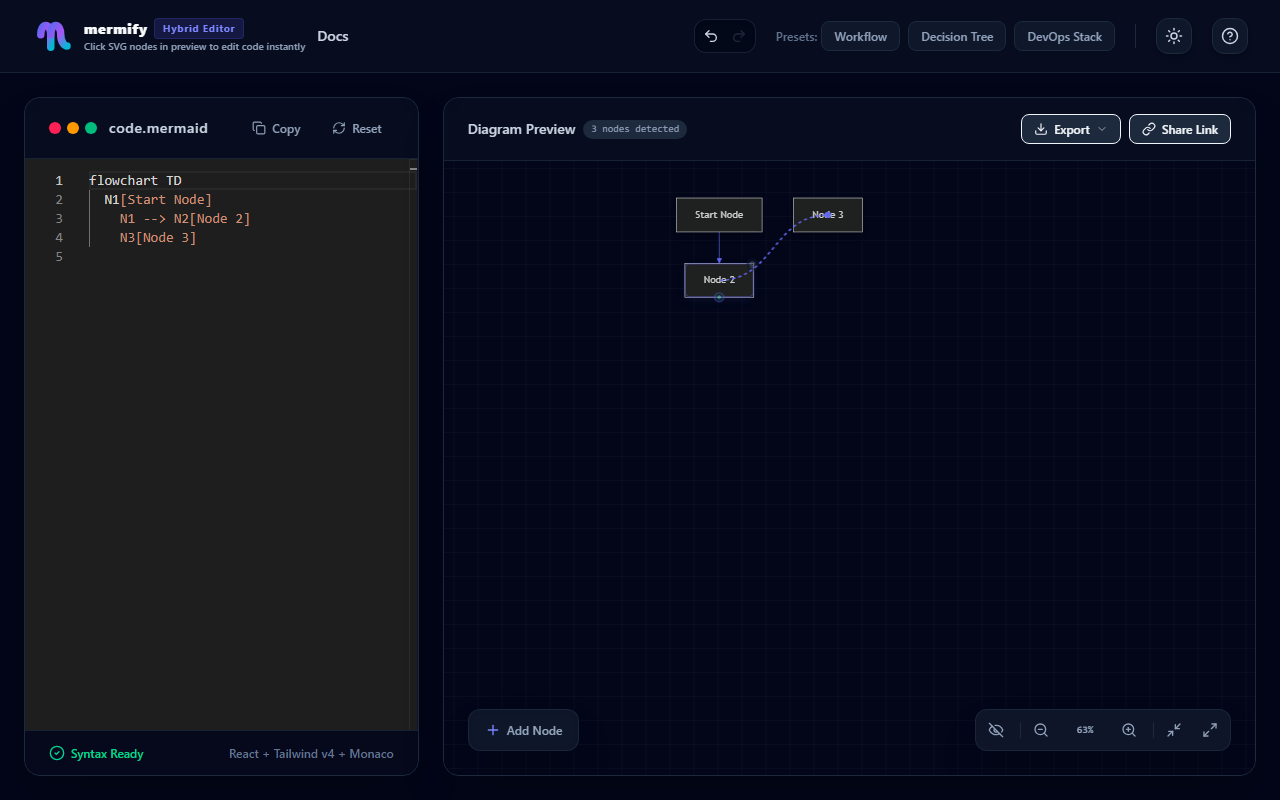
Add a Standalone Node
Click the floating Add Node button at the bottom-left corner of the preview canvas to create a new node:
- Click Add Node button.
- The Node Properties modal opens automatically.
- Fill in the label and select a shape.
Drag to Create Nodes
You can drag from the indicator socket on any node overlay to an empty space on the canvas to instantly create a new node connected to it:
- Find the small circular drag socket on the right side of the node.
- Drag it to any empty canvas area.
- A connected node will be created, and its properties modal will open automatically.

3. Connecting Nodes
To connect two existing nodes:
- Click and hold the circular drag socket on the source node.
- Drag the connection line over the target node.
- Release the mouse button to establish the connection.
4. Editing Nodes and Edges
Edit Nodes
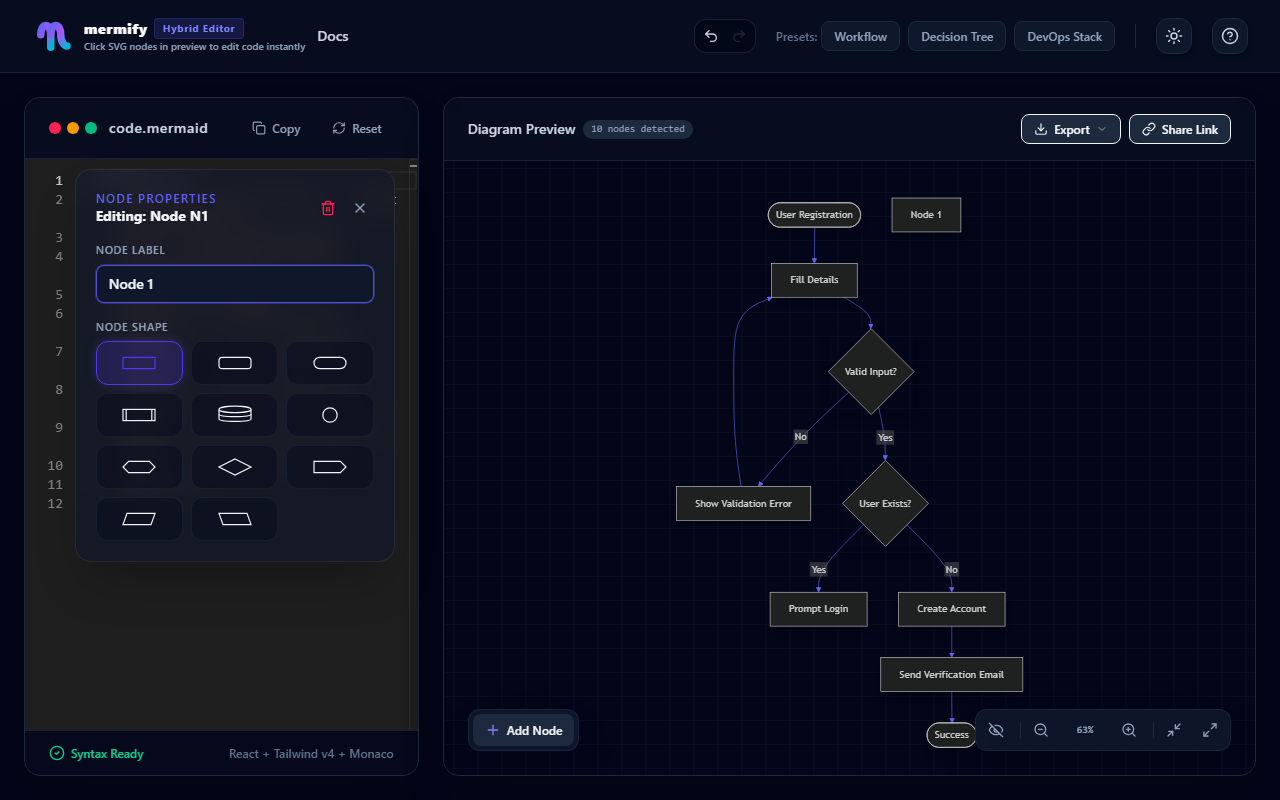
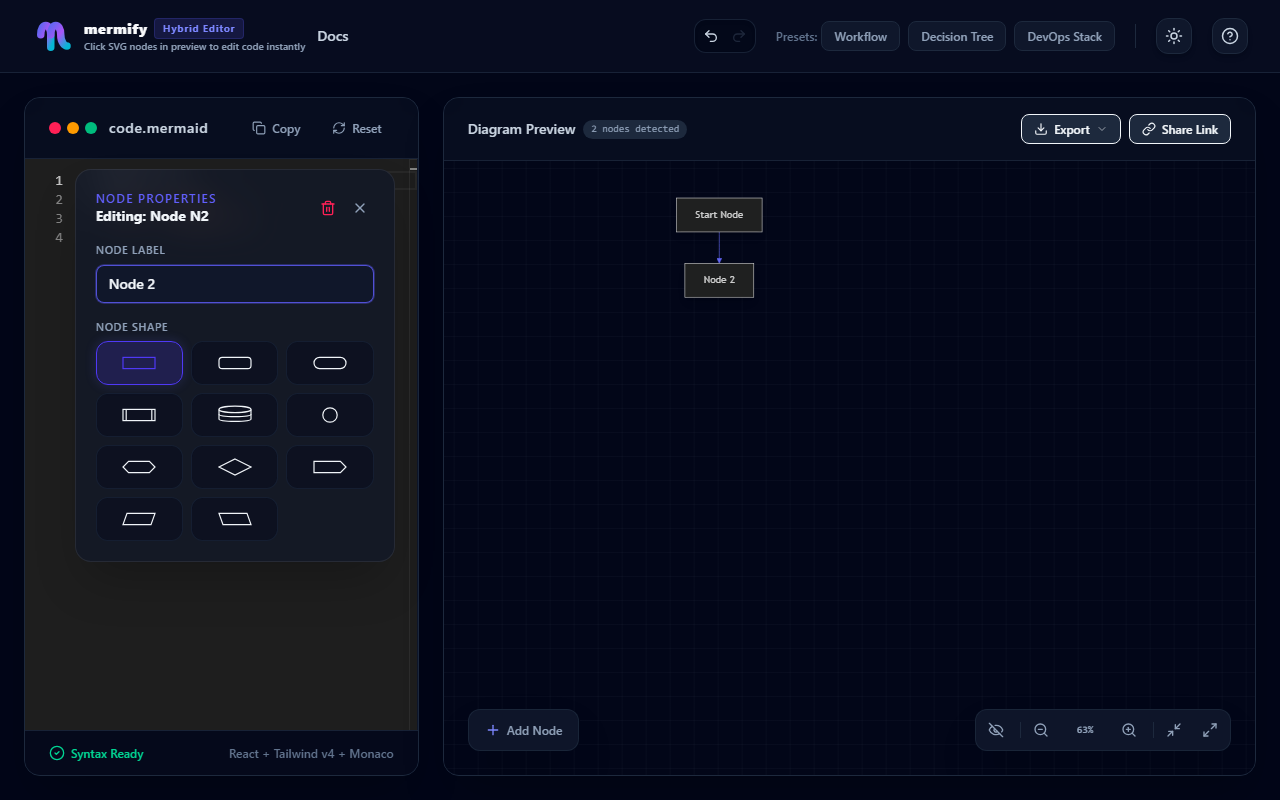
Click on any node overlay in the preview canvas to open the Node Properties modal. Here you can:
- Change the node label in real-time.
- Customize the node shape (choose from 11 available shapes).
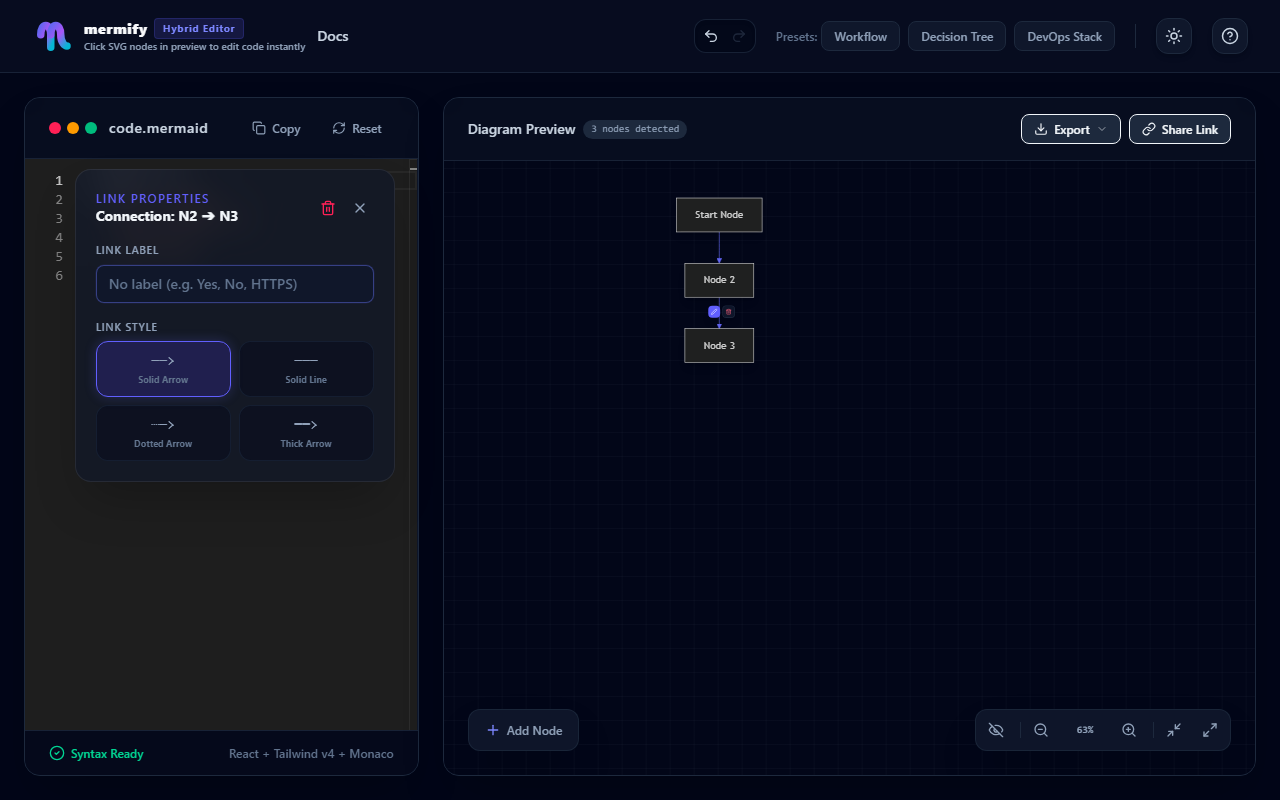
Edit Edges
Click on any link/arrow overlay to open the Link Properties modal:
- Change the edge label.
- Select the arrow/line style (solid arrow, dotted, bold, etc.).
Deleting Nodes and Edges
- Nodes: Hover over a node, then click the red Delete (Trash) button in the top-right corner.
- Edges: Hover over a link, then click the red Delete (Trash) button.
5. Sharing Diagrams
Click the Share Link button in the preview header to copy a compressed URL to your clipboard. Sharing this link allows others to load your exact diagram state instantly.

6. Exporting Diagrams
Click the Export dropdown button in the preview header to access the export options:
- Download PNG: Save the diagram as a high-resolution PNG image.
- Copy PNG to Clipboard: Copy the PNG image directly to your clipboard to paste it anywhere (e.g. Slack, Google Docs).
- Download SVG: Save the vector graphic SVG file.
